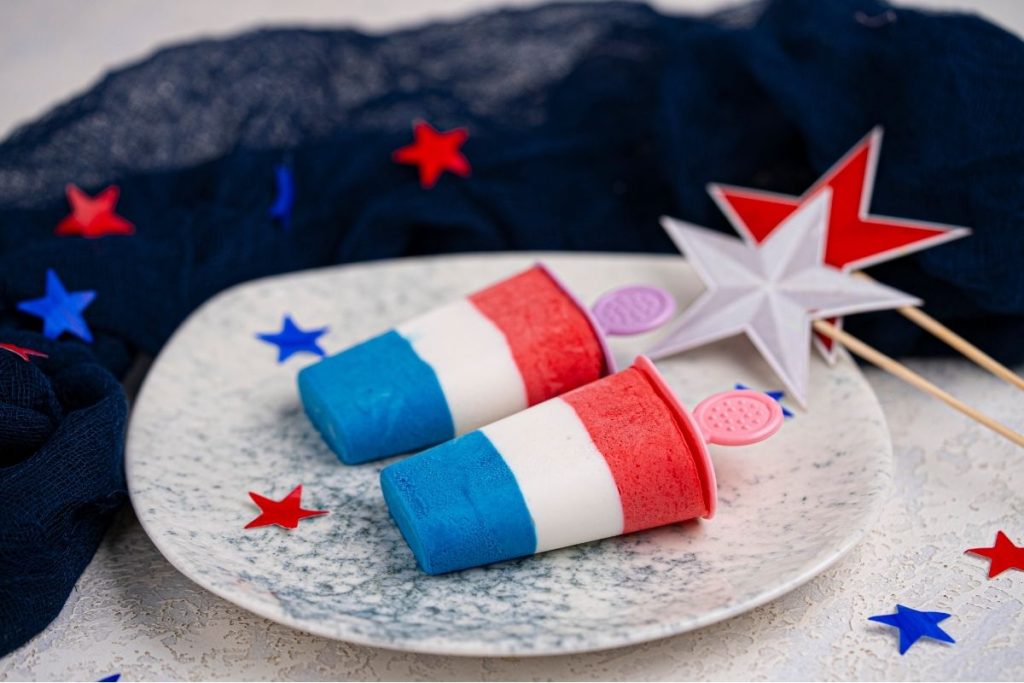
Red White and Blue Popsicles (Patriotic Popsicles)
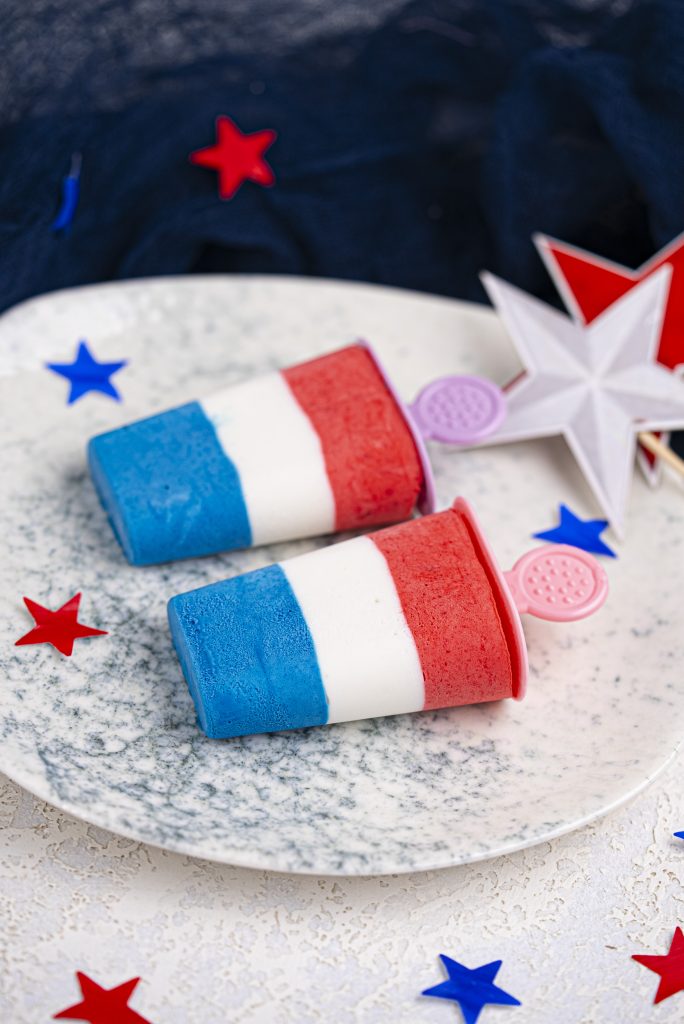
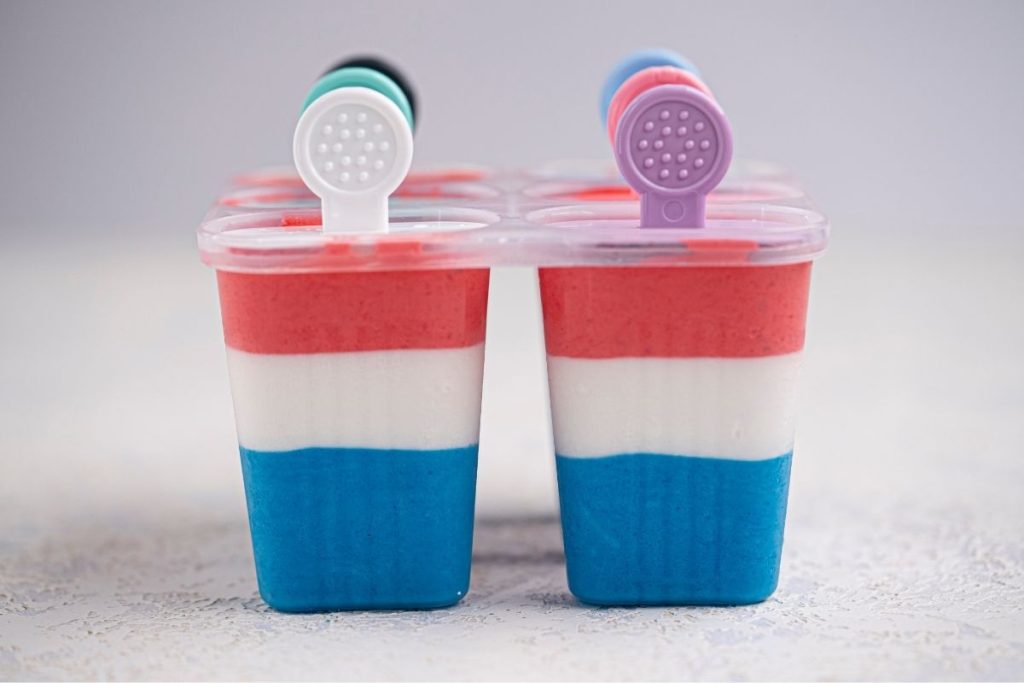
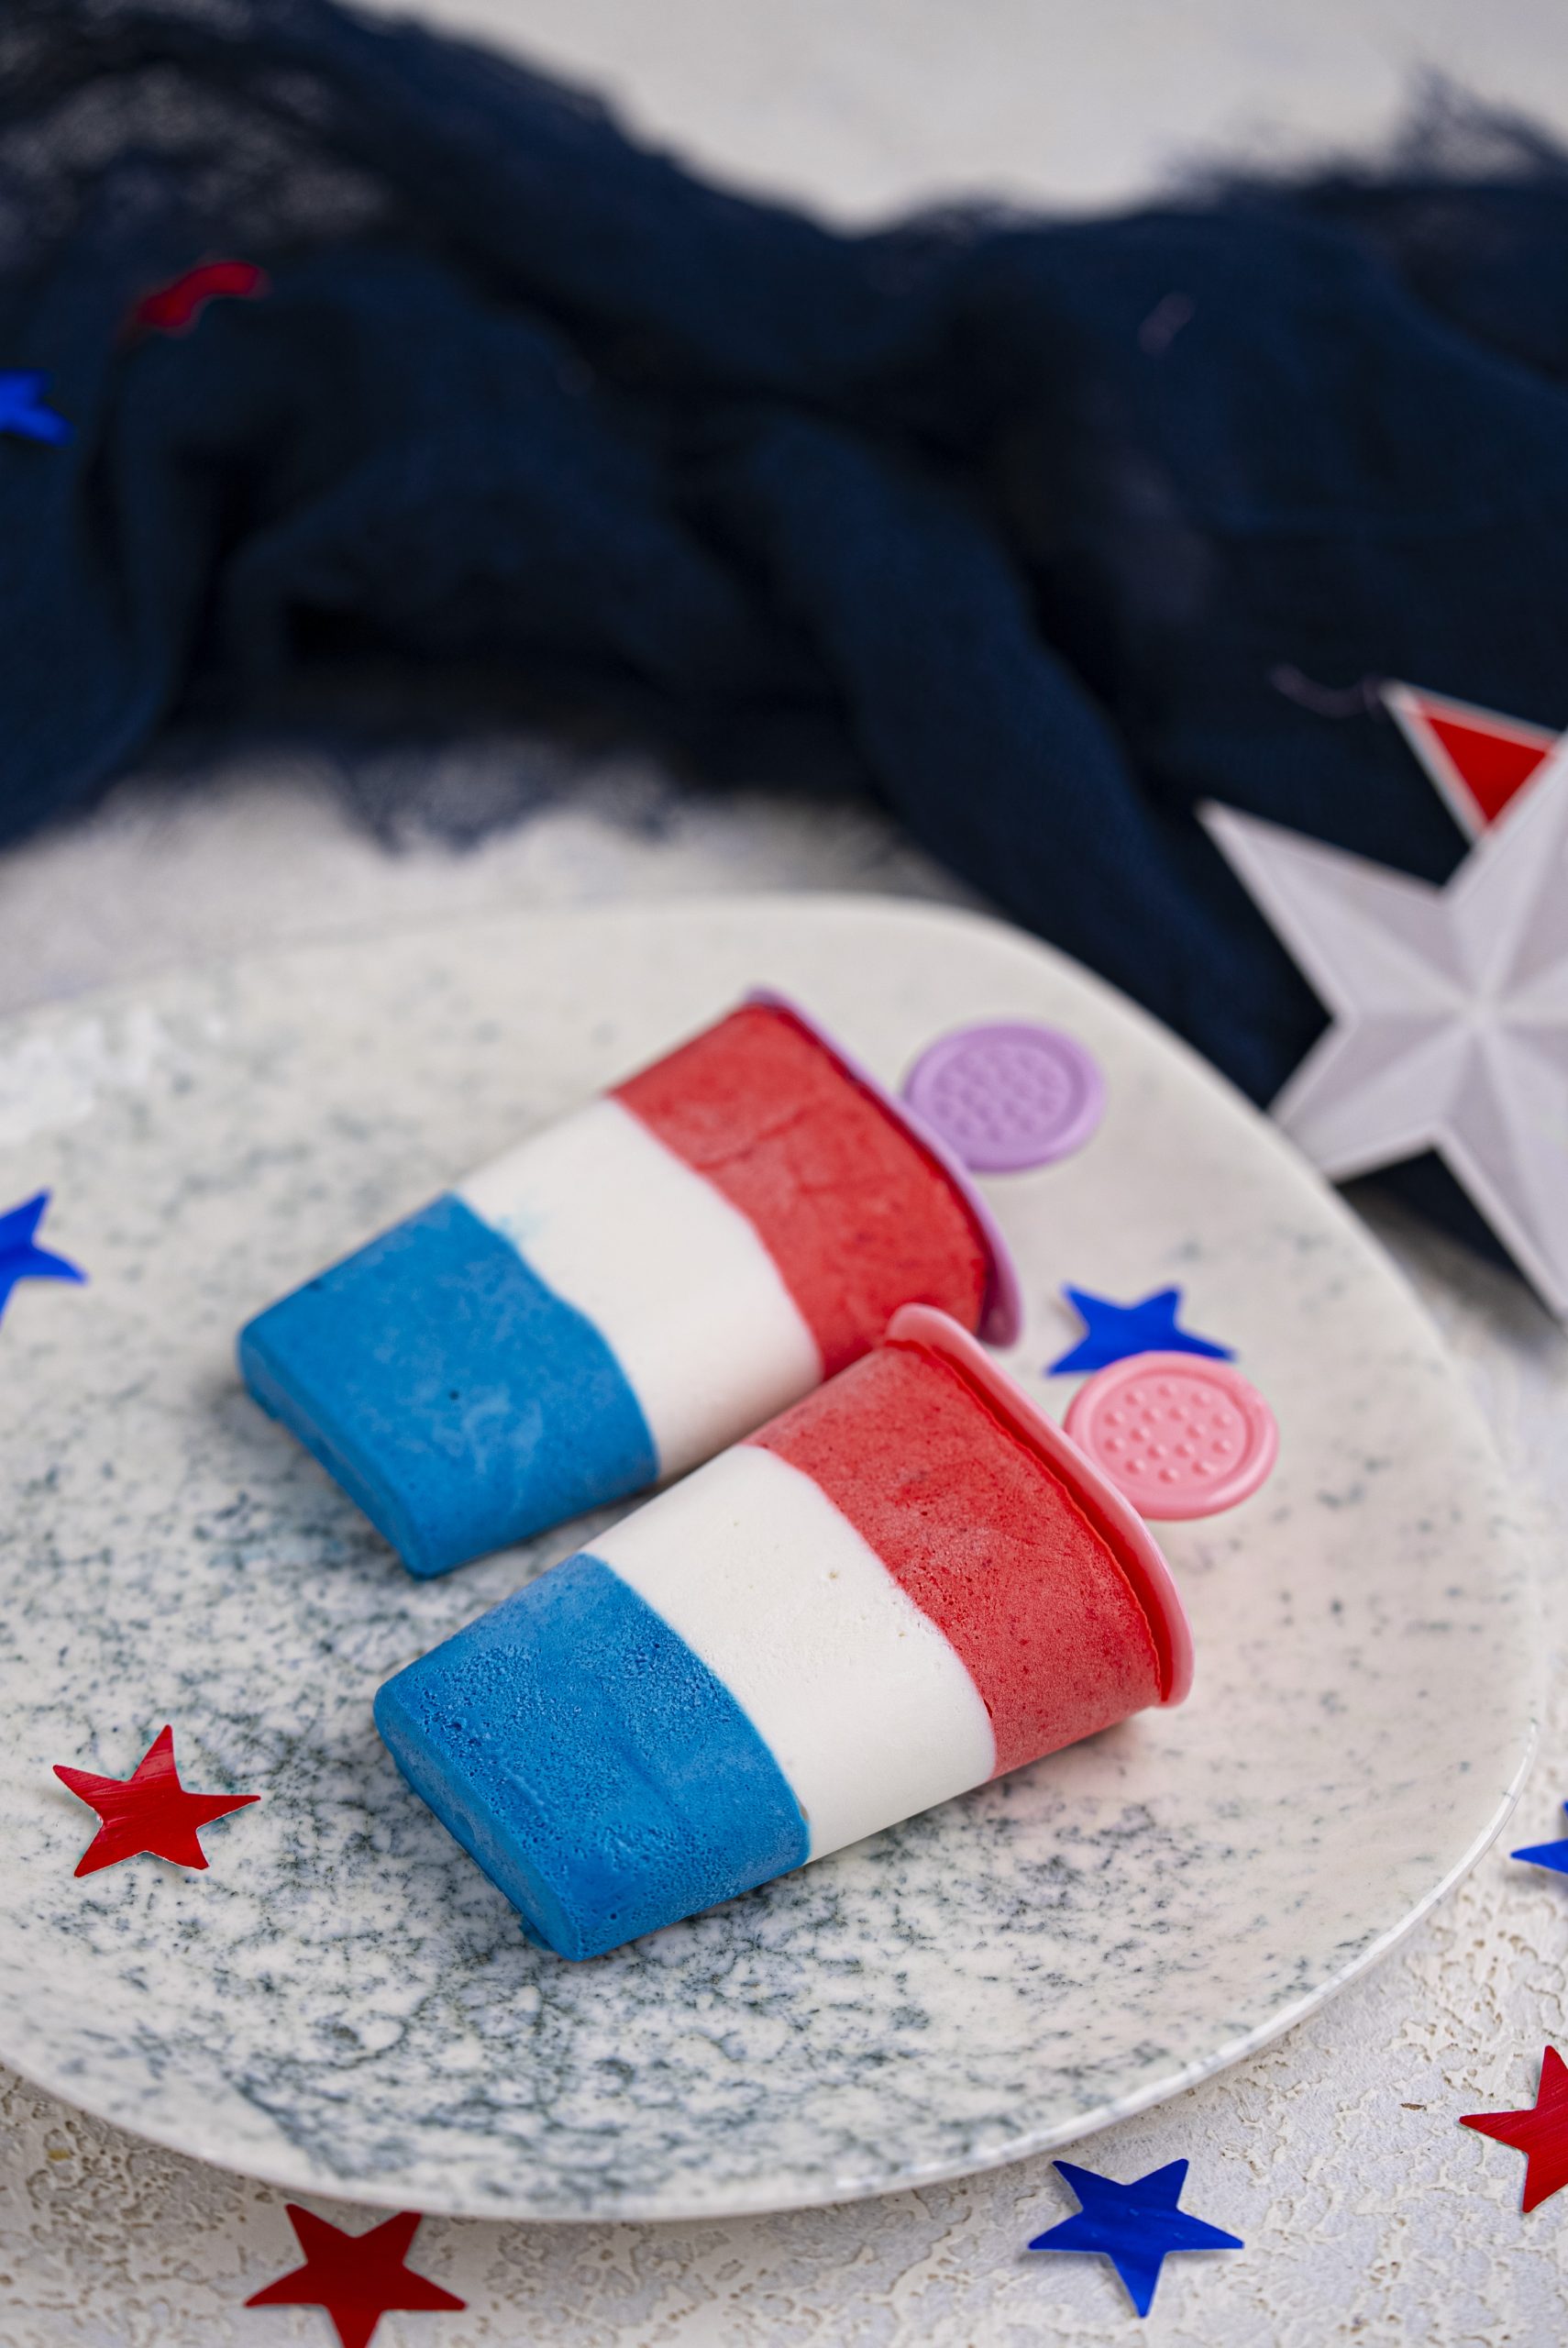
There’s something magical about summer that just calls for a cool, creamy treat—especially when it’s as festive as these red, white and blue popsicles. These beauties have become a staple at our house every Fourth of July and beyond. With real strawberries, whipped cream, and a subtle berry sweetness, they’re an easy, no-bake celebration on a stick.
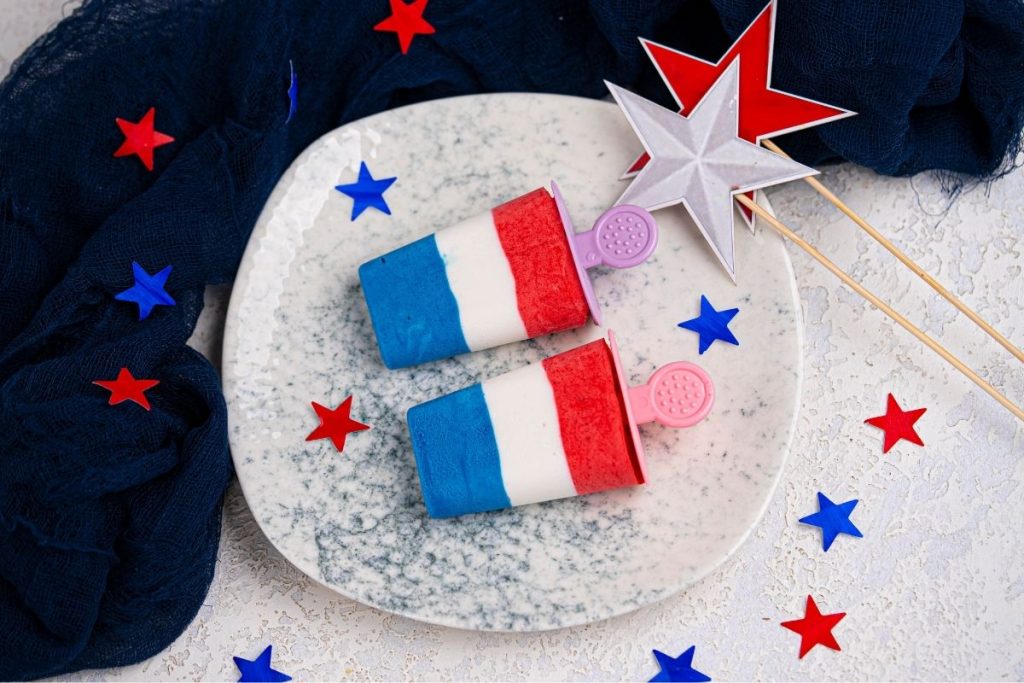
Bonus? Even my toddler devours them like they’re going out of style! And yes—they’re totally kid-friendly. With no added sugar and naturally creamy layers, these are a delicious and fun way to get your little ones involved in the kitchen.
Why You’ll Love This Red White and Blue Popsicles
- Festive and fun: These popsicles are a showstopper at barbecues, pool parties, or anytime you need a pop of patriotic color.
- Naturally sweetened: Using berry and vanilla stevia keeps these lower in sugar while still tasting indulgent.
- No-fuss ingredients: Just a handful of basics—strawberries, cream, and natural flavorings—make this recipe shine.
- Customizable: Adjust the sweetness or swap in fruit for different colors and flavor combos.
Ingredients and Substitutions
Here’s everything you need to make these creamy patriotic popsicles:
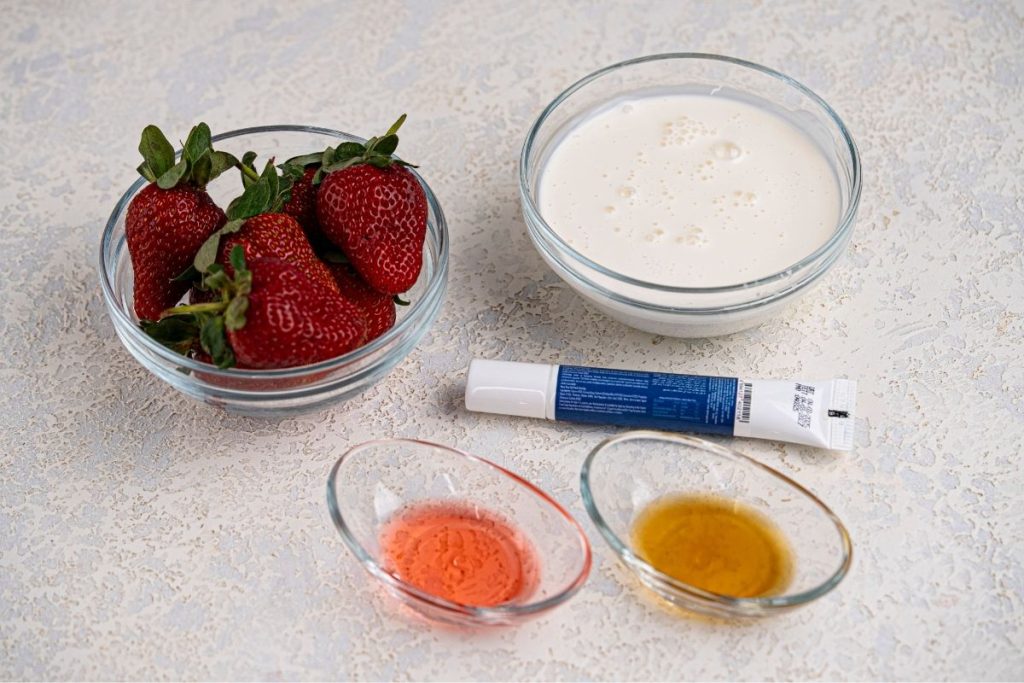
- ½ cup fresh strawberries – You can finely chop or blend them, depending on the texture you prefer in the red layer.
- 2 cups heavy whipping cream – This gives the popsicles their dreamy, melt-in-your-mouth texture.
- 1 tsp berry-flavored stevia – Enhances the fruity layer without added sugar. Substitute with honey, maple syrup, or your preferred sweetener.
- 1 tsp vanilla stevia – Rounds out the white and blue layers with a smooth vanilla touch. Feel free to use plain vanilla extract with sweetener if preferred.
- A few drops of blue food coloring – For the bold blue layer. You can also use a natural option like spirulina or blueberry juice if you’re avoiding dyes.
Tips for Making Red White and Blue Popsicles
- Whip to soft peaks: Be careful not to over-whip the cream. Soft peaks will keep the layers light and spoonable for molding.
- Layer + freeze = crisp stripes: Don’t skip freezing between layers! 20 minutes in the freezer helps each color set so you get those beautiful, defined lines.
- Level each layer: Tap your molds gently on the counter to flatten each layer before freezing.
- Use a spoon or piping bag: For clean layers, spoon in the cream or use a piping bag—it gives you better control than pouring.
- Run warm water to release: Don’t yank the popsicles out! A quick run under warm water helps them slide right out of the mold.
FAQs About Patriotic Popsicles
Can I use frozen strawberries instead of fresh?
Yes, just make sure to thaw and drain them well before blending. Frozen fruit can add extra liquid, which could affect the texture of the red layer.
What molds work best for this recipe?
Silicone molds are ideal because the pops release easily and hold their shape well. Avoid overly narrow molds—wider ones show off the stripes better.
Can I make these dairy-free?
Absolutely! Swap the heavy cream for full-fat coconut cream. Just whip it the same way and layer as usual.
How long do these popsicles last in the freezer?
They keep well for up to 2 weeks. Be sure to store them in an airtight container or wrap them in parchment to avoid freezer burn.
Are these safe for toddlers?
Yes! They’re sugar-free and soft in texture, so they’re great for toddlers who are past the baby food stage and can handle dairy.

Red White and Blue Popsicles (Patriotic Popsicles)
Ingredients
Method
- In a large mixing bowl, whip the heavy cream until soft peaks form.
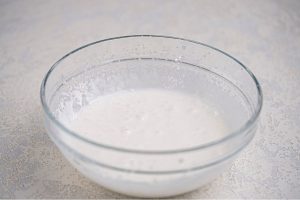
- Divide the whipped cream evenly into three bowls.
- Leave the first portion plain for the white layer.
- Stir the blue food coloring and vanilla stevia into the second bowl until evenly colored.
- Fold in the blended strawberries and berry stevia into the third bowl.
- Layer into popsicle molds:
- Start with the blue cream layer. Tap the mold gently and freeze for 20 minutes.
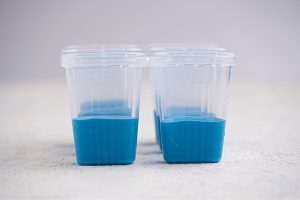
- Add the white cream layer. Freeze again for 20 minutes.
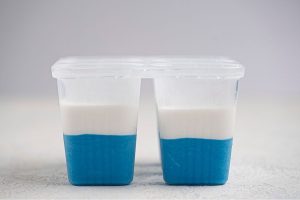
- Finish with the strawberry red layer.
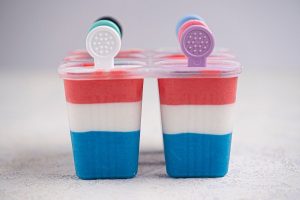
- Insert popsicle sticks and freeze for 4–6 hours or until fully set.
- Run molds under warm water to release popsicles easily.
Notes
- These popsicles are appropriate for toddlers over 1 year old who can safely eat dairy. Always monitor for signs of allergy or sensitivity.
- For a natural color twist, try beet juice for red and spirulina for blue.
- To make vegan, use coconut cream and plant-based stevia.
Don’t Forget!
If you make these red white and blue popsicles, I’d love to hear what you think! Leave a ⭐⭐⭐⭐⭐ rating or drop a quick review below. Your feedback helps others and brings a smile to my kitchen!